Introduction
Creating a professional business email address with your custom domain name in Gmail via GoDaddy can significantly enhance your email sending integrity and deliverability. This guide provides a step-by-step process for transferring a domain to full email authentication setup, using real-life examples and expert troubleshooting tips.
Why Use Custom Domain Email for Business?

Using a custom domain for your business email (like sales@y ourbusiness.com instead of y ourbusiness@gmail.com) offers several critical advantages.
Professional Brand Image: Custom domain emails establish trust and legitimacy with clients and customers, showing you’re a serious business rather than a casual operation.
Enhanced Email Deliverability: Properly configured custom domains with authentication protocols significantly improve your email delivery rates and reduce spam folder placement.
Complete Control: You maintain full control over your email infrastructure, branding, and can easily scale as your business grows.
Prerequisites Before Starting Set Up Email
Before beginning the setup process, you need to have:
- A domain that is registered at GoDaddy or moved to GoDaddy.
- The ability to log in to your GoDaddy account as an administrator.
- Google Workspace or Gmail account Simple DNS knowledge.
- Basic understanding of DNS concepts.
Step 1: Domain Transfer and Nameserver Configuration
Gaining Insight of Nameserver Control
Each time you move a domain to GoDaddy, this is a potential of initially using the nameservers of the previous provider. For complete DNS control within GoDaddy, you need to update the nameservers.
Verification of Current Nameservers
Sign in to your GoDaddy account.
Log in to My Products/Domain names.
Next to your domain, click DNS to examine the Nameservers section.
If you see nameservers like ns-cloud-d1.googledomains.com, your DNS is managed elsewhere, limiting your ability to make changes directly in GoDaddy.
Changing to GoDaddy Nameservers
In the DNS Management page, locate the Nameservers section.
Click Change
Select “I‘ll use GoDaddy‘s nameservers Recommended)”
Save the changes
Important: DNS propagation can take 24 to 48 hours, though changes typically occur within a few hours. During this period, your website and email might experience temporary disruptions.
Step 2: Configuring Gmail MX Records

Understanding MX Records
(MX Mail Exchange) Records specify which mail servers handle email for your domain. They include priority numbers that determine the order in which mail servers are contacted if multiple servers are configured.
Adding Gmail MX Records in GoDaddy
First, access your GoDaddy DNS Management page
Then, scroll to the DNS Records section
Then, delete any existing MX records to avoid conflicts
Click Add to create new MX records
Gmail MX Record Configuration
Add the following five MX records in order of priority :
| Priority | Mail Server | TTL |
| 1 | ASPMX.L.GOOGLE.COM | 1 Hour |
| 5 | ALT1.ASPMX.L.GOOGLE.COM | 1 Hour |
| 5 | ALT2.ASPMX.L.GOOGLE.COM | 1 Hour |
| 10 | ALT3.ASPMX.L.GOOGLE.COM | 1 Hour |
| 10 | ALT4.ASPMX.L.GOOGLE.COM | 1 Hour |
Record Entry Details
For each MX record:
- Type: MX
- Name: @ (applies to entire domain)
- Priority: As specified in the table above
- Value: The corresponding mail server address
- TTL: 1 Hour (default)
Step 3: Email Authentication Setup SPF, DKIM, DMARC
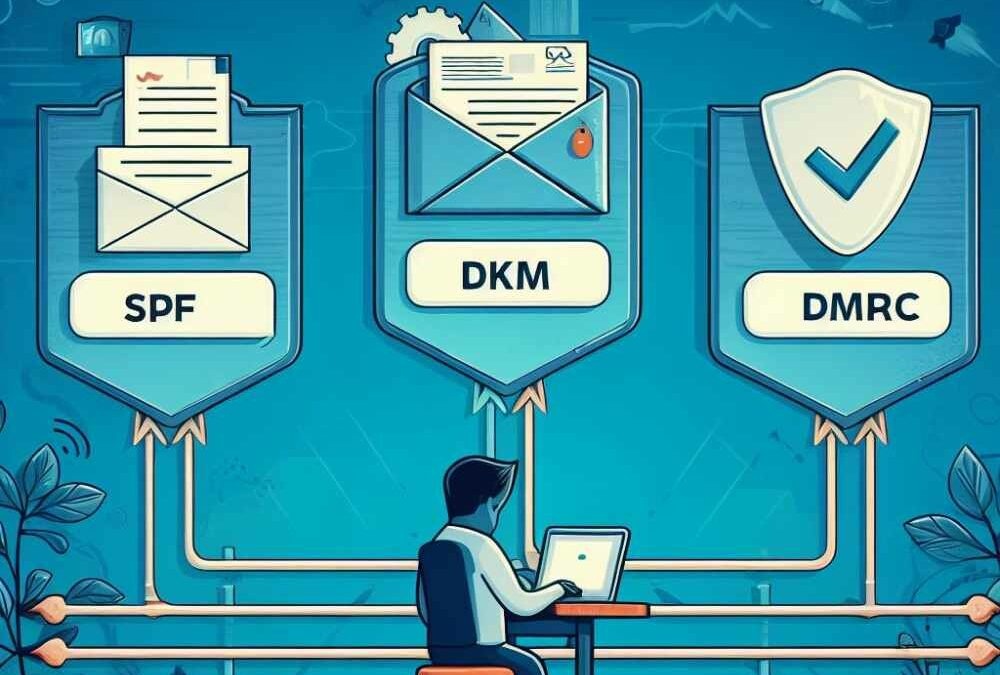
Why Email Authentication Matters
Email authentication prevents spoofing, improves deliverability, and protects your domain reputation. The DMARC error mentioned in the conversation (550 5.7.26 Unauthenticated email) indicates missing authentication records.
SPF Record Configuration
SPF Sender Policy Framework) specifies which servers are authorized to send email from your domain.
Add this TXT record:
Type: TXT
Name: @admin
Value: v=spf1 include: _spf.google.com ~all
TTL: 1 Hour
DKIM Setup
DKIM DomainKeys Identified Mail) Adds a digital signature to verify email authenticity.
- Access your Google Admin Console
- Navigate to Apps → Gmail → Authenticate email
- Generate DKIM keys for your domain
- Add the provided DKIM TXT record to your GoDaddy DNS
DMARC Policy Implementation
DMARC Domain-based Message Authentication, Reporting and Conformance) tells receiving servers how to handle unauthenticated emails.
Add this TXT record for monitoring:
Type: TXT
Name: _dmarc
Value: v=DMARC1; p=none; rua=mailto:your-email@yourdomain.com
TTL: 1 Hour
Note: Start with p=none for monitoring, then gradually strengthen to p=quarantine or p=reject as you gain confidence in your setup.
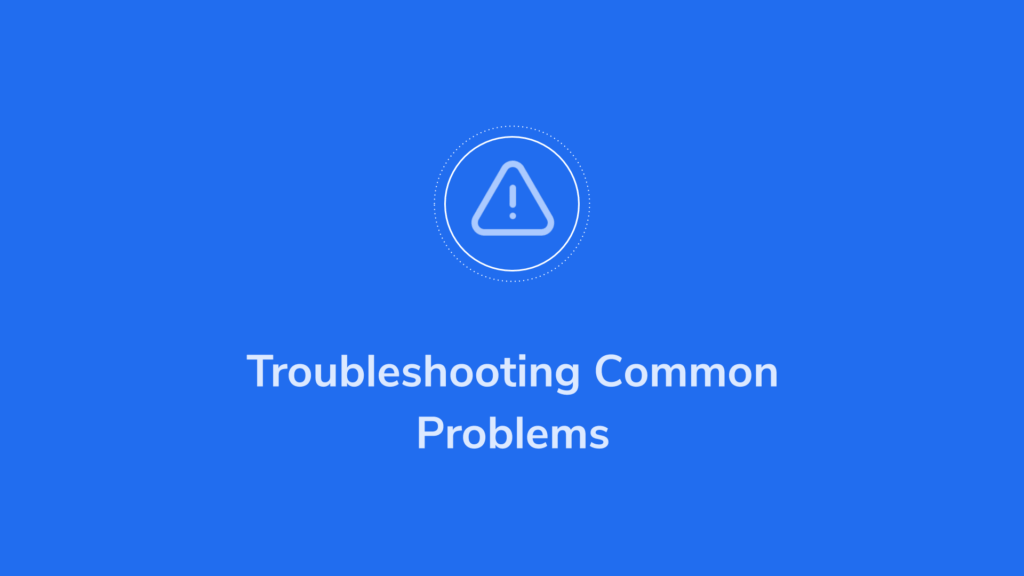
Step 4: Troubleshooting Common Issues
DNS Delays in Propagation
Problem: Non-immediate changes.
Solution: The propagation of DNS is about a period of 48 hours. To verify the propagation status worldwide, use tools such as whatsmydns.net.
“Add New Record” Button Disabled
Problem: Cannot add DNS records in GoDaddy.
Cause: Domain using external nameservers.
Solution: Change nameservers to GoDaddy’s as described in Step 1.
DMARC Authentication Errors
Problem: Emails rejected with DMARC policy errors.
Solution:
Verify the SPF record includes Google’s servers
Confirm DKIM is properly configured
Check DMARC policy settings. Allow 24 – 48 hours for propagation after setup.
Website Showing Wrong Content
Problem: Domain displays unexpected pages after nameserver changes
Causes: DNS propagation in progress
An incorrect A record pointing
Browser cache issues
Solutions:
- Wait for DNS propagation to complete
- Clear browser cache
- Check the A record configuration in DNS settings
- Upload the correct website files to the hosting account
Step 5: Verification and Testing

Testing of email using the functionality
Test sending email with your custom domain
Check if emails are delivered successfully
Check that emails do not go to spam folders.
Test both sending and receiving capabilities.
Best Practices in the Security of Email Domain Management
Regular Monitoring: Configure DMARC reports to keep track of authentication failure and possible security risks.
Strong Authentication: For maximum security perform strict DKIM and SPF alignment where possible. DMARC Zeroes: Take that slow road and begin by using DMARC to monitor incoming traffic (and set p=none); then enforce gradually over time.
Performance Optimization
TTL Settings: Choose proper TTL values of DNS records – a longer TTL when records should be rather steady, a smaller TTL when quick changes are important.
Separate subdomains: Multiple subdomains can be used to keep the sender’s reputation in case of emails of a different nature (marketing, transactional, etc.).
Ongoing Maintenance
Frequent Auditing: Conduct updates on your authentication email preferences on a regular basis. Documentation: Store a record of all the DNS changes and configurations to use in the future.
Backup Plans: Set up alternate MX records to prevent interruptions to mail service as the result of a server being down.
Conclusion
Configuring Gmail business email to a custom domain is GoDaddy, where nameserver setup, creating MX records, and email authentication are to be paid attention to. Although the process might appear to be intricate in the first instance, the stepwise approach will guarantee professional usability of emails with maximum delivery capacity and security.
The success is the patience regarding the time of the IPS of DNS and the responsibility of identifying any elements of email authentication checking. When configured in a proper manner, your business will enjoy a greater level of credibility, deliverability of email messages, and effective immune capabilities against email spoofing attacks.
It is important to remember that the process of email authentication and DNS management is never over and is rather a continuous process that must be reviewed and updated on a regular basis, along with your business and email security policies.